
Filters
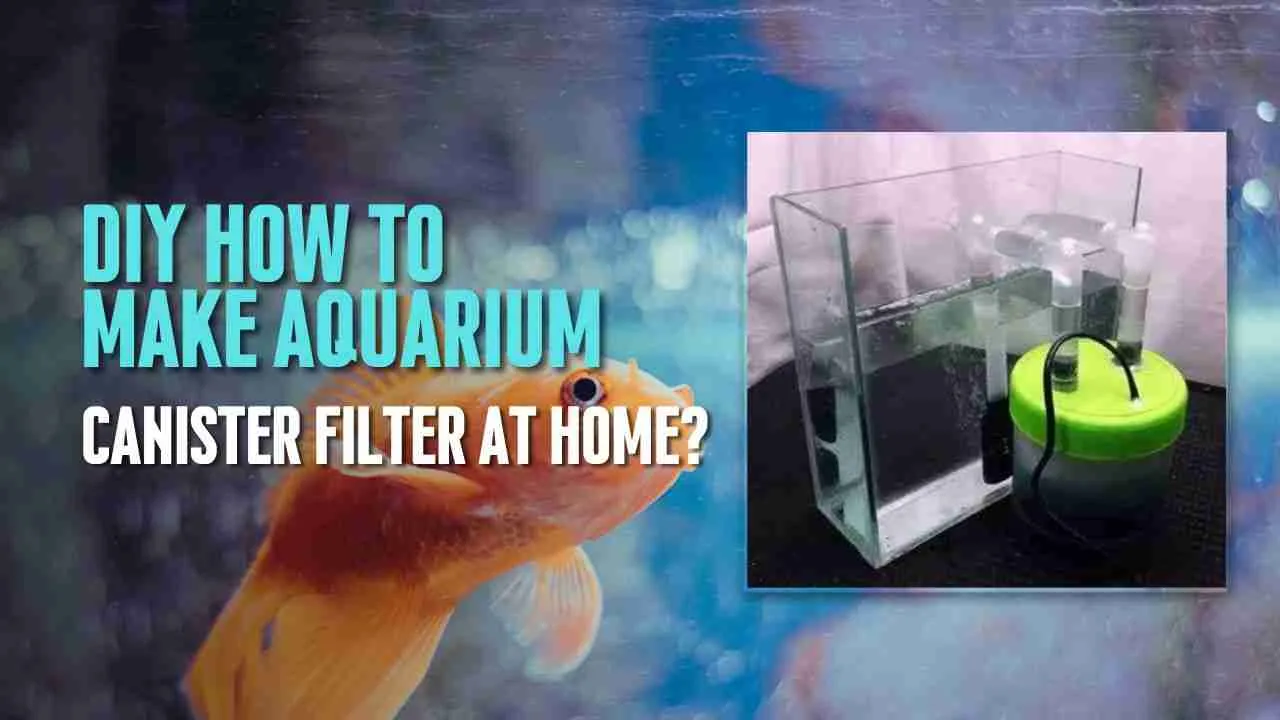
DIY How to make Aquarium Canister filter At Home?
Even the people who don’t own an aquarium know how crucial a filter is in an aquarium. Creating and maintaining a safe and healthy environment for your aquatic friends is the topmost priority, therefore you need a filter for it. Moreover, there are a myriad of choices of filters in the market and the best type of filter is Canister filters.
Aquarium canister filters are a popular choice for maintaining clean and healthy aquatic environments. However, store-bought canister filters can be expensive and may not always meet your specific needs. The good news is that you can save money and create a customized filtration solution by building your very own DIY aquarium canister filter.
In this article, we will walk you through the step-by-step process of creating an efficient canister filter for your aquarium. So, roll up your sleeves, and let’s dive into the world of DIY aquarium canister filters!
How to make DIY Canister Filter at home?
Making a Canister Filter at home is an easy process. Once you gather all your appliances and pieces of equipment, all that’s left is to fix it up. Bright side is that the only complicated part is gathering filter media and other equipment, the process following it is simple and easy. Now lets see how to make a DIY aquarium canister filter at home.
Equipment list for DIY Aquarium Canister Filter
Ahead of making a DIY Aquarium Filter, what you need are all the parts and appliances you need for it. There are several pieces of equipment that goes on to making a DIY Aquarium Filter. Lets see what they are:
You can also order the items directly from Amazon.com.
- Watertight container – Amazon.com
- Filter Media such as Bio Balls, Aquarium Sponges, Filter Pads and so on – Amazon.com
- Three ½ ″ inch Hose Connectors – Amazon.com
- One ½″ threaded valve – Amazon.com
- One ½″ by 4″ Flexible Riser – Amazon.com
- One ½″ by 1″ Riser –Amazon.com
- Powerhead with 1 ½″ threaded input and output – Amazon.com
- 1 ½″ Hose or Pipe and length depending upon your requirement – Amazon.com
- One 1½″ Elbow Connector – Amazon.com
- Hose Clips – Amazon.com
- Two suction cups – Amazon.com
- Aquarium silicone sealant – Amazon.com
- Finally, a Drill – Amazon.com
DIY Canister Filter Diagram

DIY How to make Aquarium Canister filter?
After you’ve gathered and assembled all of your equipment, it is time to start making your own DIY Aquarium Canister Filter.
You can watch the YouTube Video about making DIY Canister filter as a reference.
1. Check the container for leaks
The container is the most important part of the filter and you must ensure that it is in perfect condition. The foremost thing you need to do is to check the container for leaks. Fill the container halfway with water and move the water around the container. If it leaks, the container needs to be changed and if it doesn’t you’re good to go.
3. Make the input and output of the canister
Making the input and output of the filter is the next step. For this, you will need your hose, suction cups, one hose connector, and one elbow connector.
Cut the hose into two equal parts, one will serve as the input and the other as the output.

For the input, you need to attach one hose connector to one end and add a suction cup to it. This will go into the tank and take in the water towards the canister filter.
To make the output, you need to attach the elbow connecter on one end and add a suction cup to it, it will bring in the filtered water from the canister filter.
4. Drill two holes in the container
After making sure that the container is not leaking, you need to make two holes in it. Get your drill, and make one hole on the top and one on the lower side near the bottom.
The hole in the top is where the water will go in the canister filter. The one at the bottom is where the water will go to the tank.
5. Attach the connectors
Now the next step is to attach the connectors to the drilled holes. Thrust in one hose connector to the top hole and apply aquarium silicone sealant. The sealant will prevent leakage.
Now for the output hole, you need to attach the ½″ by 1″ Riser to it and apply sealant around it. Then attach the threaded valve in the riser tightly and in the valve screw in the ½″ by 4″ Flexible Riser.
6. Attach the powerhead
Now comes the powerhead. The powerhead will go in the output of the canister filter. Attach the intake of the powerhead to the flexible riser which is the output of the filter. Then the last hose connector will go into the output of the powerhead.
7. Connect the input and output of the filter and add it to aquarium
Now get the input and output you made for the filter and attach it to the filter. Squeeze in the hose of the input in the top hole of the filter and tighten it with a hose clip. The other end will go in the aquarium glass pane with the suction cup.
The output hose will go into the output hole of the powerhead, and the other end attach it to the aquarium with the suction cup.
8. Add the filter media to your canister filter
The last thing to do is to add the various filter media. Get your filter media such as bio balls, sponges, and filter pads in the canister filter. But you should not mix it up, you must add it in layers.
You can make a layer of bio balls in the bottom followed by a layer of filter pads. Then you can top it off with a layer of aquarium sponges. If there are any leftover bio balls or filter pads, you can create more layers of them.
9. Turn on the power head
As soon as everything is in place, the input and output hose, filter media, and so on, you can turn on the powerhead. Once the powerhead is on, after some time water will start to move from the aquarium to the filter and from the filter to the aquarium.
Make sure to check for leaks and whether everything is perfectly in place.
Conclusion
By following this DIY guide, you have successfully learned how to create your own aquarium canister filter. Building your filtration system not only saves you money but also allows you to customize it according to your specific needs.
With your DIY canister filter in place, you can enjoy numerous benefits, such as improved water clarity, enhanced chemical filtration, and a healthier environment for your aquatic companions.
Remember to regularly maintain your DIY canister filter by cleaning or replacing the filter media as needed. This will ensure optimal performance and extend the lifespan of your filter.

 Fish2 years ago
Is Apple Cider Vinegar Safe for Fish?

 Fish Tank2 years ago
How Many Fishes Can you Keep in your Fish Tank?

 Cleaning2 years ago
How to Clean a Fish Tank Glass? Step By Step Process

 Cleaning2 years ago
How Do you Clean Aquarium Gravel?

 Fish2 years ago
20 Best Fish breeds for your Aquarium

 Cleaning2 years ago
How to disinfect your Aquarium?

 Acrylic Aquarium2 years ago
Which Aquarium is Better – Glass or Acrylic?

 Fish2 years ago
How Do You Know When Fishes Are Hungry?